Whether you’ve been inspired by the old masters or simply want to explore a new avenue of artistic expression, here’s your comprehensive guide. Oil painting, with its rich colours and flexible texture, has been the medium of choice for countless artists throughout history.
Despite its reputation for complexity, oil painting is a skill that anyone can learn with time, patience, and the right guidance. So, prepare your easel, squeeze out your first dollops of paint, and join me on this exciting journey into the world of oil painting. Let’s dip our brushes together into this timeless art form!
Oil painting, as an artistic medium, dates back centuries and has played a pivotal role in the world of fine art. The practice of oil painting began in Europe around the 12th century, but it wasn’t until the 15th century during the Renaissance that it gained significant popularity. This was largely due to the efforts of artists like Jan van Eyck, who is often credited with inventing the technique.
Understanding oil paints
At its core, oil paint is a type of slow-drying paint that consists of particles of pigment suspended in a drying oil, commonly linseed oil. The viscosity of the paint can be altered by the artist using solvents such as turpentine or white spirit. When dried, oil paints provide a hard, yet flexible film that’s resistant to water and light damage, making it a durable choice for artworks.
Types of oil paints
- Traditional or Artist Oil Paints: These are professional-grade paints with a high concentration of finely ground pigment and a good amount of oil. They offer a wide range of colours, excellent lightfastness (resistance to fading), and superior mixing characteristics.
- Student Oil Paints: These are a more affordable option designed for learners. They contain less pigment and more fillers than artist-grade paints, resulting in less vibrant colours. However, they’re great for practice and learning the basics of oil painting.
- Water-Mixable Oil Paints: A relatively new addition to the oil paint family, these paints can be diluted and cleaned up with water, eliminating the need for harmful solvents. Despite this, they maintain the depth of colour and slow drying time characteristic of traditional oils.
- Alkyd Oil Paints: These are fast-drying oil paints. They’re made by adding a synthetic resin, alkyd, to the oil, which accelerates the drying process. Alkyd paints are useful for underpainting or when you want your work to dry quickly.
Uses of oil paints
Oil paints are incredibly versatile and can be used to create a wide range of effects and finishes. Here are some of their common uses:
- Glazing: This involves applying thin, transparent layers of oil paint to achieve depth and luminosity in the colors. It’s a technique often used in portrait and still life paintings.
- Impasto: This is a technique where paint is laid on the canvas in thick layers, creating a textured, three-dimensional effect. Oil paints are perfect for impasto due to their thick consistency and slow drying time.
- Scumbling: This is a method of applying a thin layer of light, opaque oil paint over a dried, darker layer. It gives a soft, glowing effect to the artwork.
- Detailing: Due to their slow drying nature, oil paints allow artists to work and rework details to achieve a high level of precision in their work.
Essential tools for oil painting
To help you navigate your exciting journey into oil painting, we’ll look at essential painting tools and provide tips on choosing the right ones as a beginner.
Brushes
Brushes are arguably the most important tool in a painter’s toolbox. They come in various shapes, sizes, and bristle types. Some common shapes include round, flat, filbert, fan, and bright. As a beginner, a basic set containing these shapes would be a great start.
Bristle types often include natural (hog, sable, squirrel), synthetic, or a blend of both. Synthetic brushes are generally more durable and easier to clean, making them a good choice for beginners.
Palette knives
Palette knives are used for mixing paints and creating textured effects. They come in various shapes and sizes. A standard trowel-shaped knife is versatile and suitable for beginners.
Palettes
A palette is an essential tool for mixing your paints. They can be made from wood, glass, acrylic, or disposable paper. As a beginner, a medium-sized, easy-to-clean acrylic or disposable paper palette would be a practical choice.
Easels
An easel holds your canvas while you paint. There are several types including A-frame, H-frame, tabletop, and French style easels. Tabletop easels are a great space-saving option for beginners.
Canvases
Canvases are the surface you paint on. They come in various sizes and are typically made of cotton or linen, stretched over a wooden frame. Pre-primed, medium-sized cotton canvases are a good starting point for beginners.
Tips on choosing the right tools for beginners
- Start Simple: As a beginner, it’s easy to get overwhelmed by the variety of tools available. Start with a basic set of brushes, a palette knife, a simple palette, a tabletop easel, and a few pre-primed canvases.
- Quality Over Quantity: It’s better to invest in a few high-quality tools than a lot of low-quality ones. High-quality tools not only perform better but can also make the painting process more enjoyable.
- Consider Your Workspace: Your workspace can influence the type of tools you need. For instance, if you have limited space, a tabletop easel might be a better choice than a large H-frame easel.
- Understand Your Medium: The type of paint you choose will also influence your tool choice. For instance, oil and acrylic paints require different brushes and palettes.
- Experiment: As you grow in your painting journey, don’t be afraid to experiment with different tools to find what works best for you.
Free resource to help you
Want a printable checklist of everything you need to start oil painting with confidence? Download your Oil Painting Starter Checklist and get practical guidance straight to your inbox.
Basic techniques in oil painting
The world of oil painting is a vast landscape filled with various techniques that can enhance the depth, texture, and luminosity of your artwork. We look here at some basic painting techniques such as blending, glazing, and scumbling.
Blending
Blending is the technique of smoothly transitioning one color into another, creating a gradual shift in hue or value.
Step-by-step Guide to Blending
- Apply a colour to your canvas using a brush.
- While the paint is still wet, apply a second colour next to the first.
- Using a clean brush, gently mix the area where the two colours meet, moving your brush back and forth until you achieve a smooth transition.
Glazing
Glazing involves applying thin, transparent layers of oil paint to achieve depth and luminosity in colours. It’s often used in portrait and still life paintings.
Step-by-step Guide to Glazing
- Start by laying down your underpainting, which should be lighter than your final desired colour.
- Once your underpainting is dry, mix your glaze by combining a small amount of oil paint with a glazing medium.
- Apply the glaze over the dried underpainting using a soft brush.
- Repeat the process, allowing each layer to dry before applying the next, until you achieve the desired depth and luminosity.
Scumbling
Scumbling is a method of applying a thin layer of light, opaque oil paint over a dried, darker layer. It gives a soft, glowing effect to the artwork.
Step-by-step Guide to Scumbling
- Start with a dried, darker base layer on your canvas.
- Mix a lighter, opaque color with a small amount of medium to increase transparency.
- Lightly brush this mixture over your base layer. The aim is not to completely cover the base layer, but to allow parts of it to show through, creating a sense of depth and luminosity.
Understanding colour and composition
When it comes to creating compelling oil paintings, two key elements play a crucial role – color and composition. Understanding these elements can significantly enhance the impact of your artwork.
Colour
Colour in oil painting is not just about the hue you see on your palette. It’s about understanding the colour theory – the relationship between colours and how they interact with each other. For instance, complementary colours (those opposite each other on the colour wheel) can create a vibrant contrast, while analogous colours (those next to each other on the colour wheel) offer a harmonious blend. Learning to manipulate colours can help you convey mood, evoke emotions, and bring depth to your painting.
Composition
Composition, on the other hand, refers to how the elements in your painting are arranged. It’s about leading the viewer’s eye across the canvas and emphasizing the focal point of your artwork. Techniques such as the Rule of Thirds, where the canvas is divided into a grid and the subject is placed along the lines or intersections, can create a balanced and visually appealing composition.
Simple projects for beginners
Starting your journey into the realm of painting can be both exciting and daunting. But fear not, because we have put together a list of simple yet engaging painting projects perfect for beginners. These projects are designed to help you get comfortable with basic techniques and foster your artistic skills. Let’s dive in!
Sunset landscape
A sunset landscape is an ideal project for beginners as it involves simple shapes and a lot of blending which can help you get comfortable with your brushes.
- Start by painting the sky. Begin with a warm yellow at the horizon, gradually blending into oranges, reds, purples, and finally deep blues as you move upwards.
- Paint a simple silhouette of rolling hills or trees on the horizon line.
- Finish off by adding a bright sun sinking into the horizon.
Still life fruit bowl
Painting a fruit bowl allows you to practice shapes, shading, and highlighting.
Sketch out a simple bowl shape and some basic fruit shapes within it.
- Block in the main colours of each fruit and the bowl.
- Add shading to give your fruits and bowl depth and roundness.
- Finish with highlights to give your objects a shiny, 3D effect.
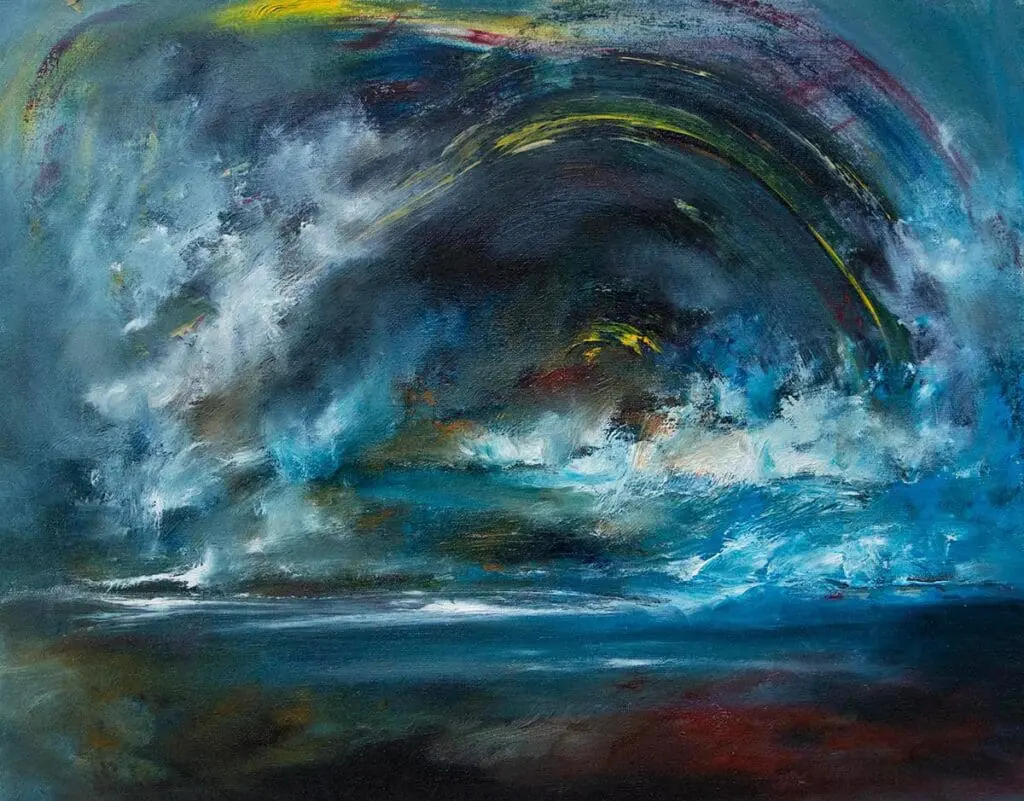
Abstract colour burst
An abstract colour burst lets you play with colours and brush strokes freely without the pressure of making things look realistic.
- Choose a selection of your favorite colours.
- Start in the middle of the canvas and paint outward strokes, letting the colours blend organically.
- Continue this process until you’re happy with your abstract creation.
Monochrome study
A monochrome study helps you understand tonal values and contrast.
- Choose a single colour and mix up several shades, tints, and tones of this colour.
- Paint a simple scene using only these variations. It could be a landscape, a still life, or a portrait.
- Pay attention to creating contrast to make your image pop.
Start your oil painting journey with us
If you’d love some hands-on guidance with this, our Oil Painting for Beginners Art Class at Inishowen Artists’ Retreat is a wonderful way to start. You’ll get to paint with an experienced tutor in a relaxed, creative setting and, by the end of the day, we hope you’ll feel inspired and informed, with your very own oil painting to take home.
But we’re not quite finished yet!
Taking care of your artwork and tools
Creating beautiful artwork is only half the battle won. The other half involves taking good care of your artwork and the tools you use. Proper maintenance not only ensures the longevity of your paintings but also keeps your tools in top shape for future projects.
Cleaning and storing oil paints and brushes
- Clean Your Brushes Promptly: After each painting session, it’s essential to clean your brushes thoroughly. Remove excess paint using a rag or paper towel, then wash them with warm water and mild soap until the water runs clear.
- Reshape Your Brushes: Once clean, use your fingers to reshape the bristles into their original form.
- Dry Your Brushes Horizontally: Avoid standing your brushes upright to dry as the water can seep into the handle and cause damage. Instead, lay them flat on a towel.
- Store Your Paints Correctly: Keep your oil paints in a cool, dark place to prevent them from drying out. Make sure the caps are tightly closed after use.
Preserving finished artworks
- Let Your Painting Dry Completely: Oil paintings can take up to six months to dry completely. It’s crucial to let your artwork dry entirely before moving to the next step.
- Apply a Varnish: A protective varnish can safeguard your painting from dust and UV light. Remember, varnishing should only be done once the painting is fully dry.
- Avoid Direct Sunlight: Sunlight can cause colors to fade over time. Hang your paintings in a spot where they’re safe from direct sunlight.
- Control Humidity and Temperature: Extreme changes in humidity and temperature can cause the canvas to expand or contract, leading to cracking. Try to maintain a consistent environment for your paintings.
Let your painting journey begin
Mastering oil painting techniques takes patience and practice. Don’t be disheartened if your first few attempts don’t turn out as expected. Keep experimenting, learn from each experience, and above all, enjoy the process.
In conclusion, having a solid grasp of the basic elements such as colour and composition, undertaking beginner-friendly projects, and adopting proper care for your artwork and tools are all integral aspects of your journey into oil painting. These foundational elements not only enhance your artistic skills but also ensure the longevity of your creations. Adhere to these guidelines and continue to explore and express your creativity through the captivating medium of oil painting.